Installing Your Felt Right Wall Tiles in Just 5 Easy Steps
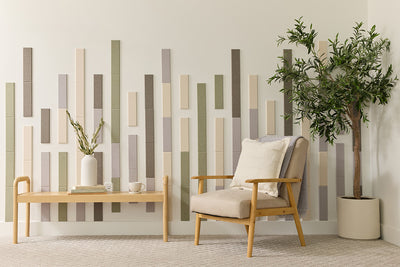
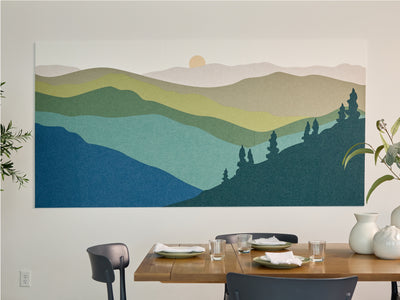
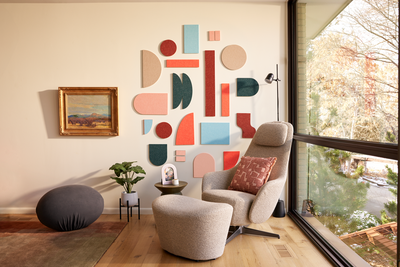
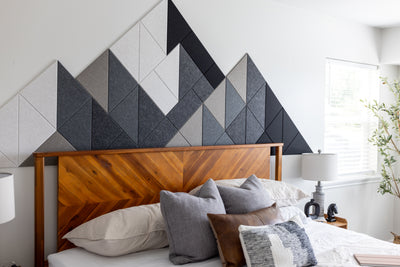
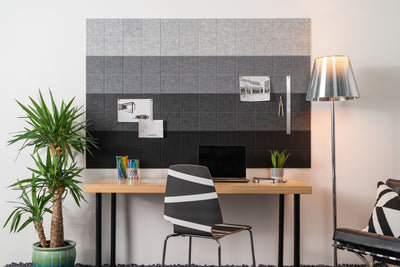
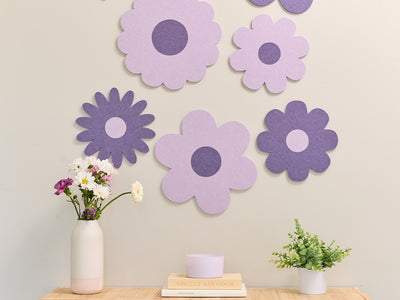
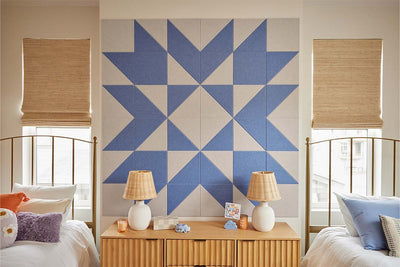
With a wide array of colors, patterns, and designs, felt tiles allow you to have complete control over your wall décor. And since you can easily add more tiles as you go, you can create a felt board suited perfectly to your wall of choice.
There are many reasons to love felt tiles, including the simple and quick installation. In this blog, we’re taking a closer look at our innovative felt tiles and focusing on our simple, 5-step installation process. In just a matter of minutes, you can have your felt board hung up and installed so you can spend more time doing what you love.
Felt Right is your industry leader in state-of-the-art felt wall tiles and felt boards. With a huge assortment of colors, patterns, and felt board designs, you can effortlessly transform any wall in your home or office into a work of art.
Easy to pin up, clean and maintain, and even remove if needed, our felt tiles are friendly to your walls and the environment. We do what we can to limit our impact on the environment by incorporating sustainable production practices into our process and using recycled materials in all of our products. If you’re looking for a colorful, eye-catching, and simple way to decorate your walls, Felt Right is for you.

How to Install Your Felt Tiles in 5 Easy Steps
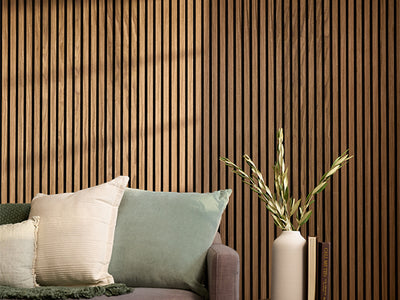
There are many reasons to fall in love with our PET felt wall tiles. With the warm colors, soft texture, and improved sound quality provided by these sound-dampening panels, felt tiles are an eye-catching and functional choice for your wall décor. On top of that, the easy and painless installation process is just one more reason to fall in love with felt tiles.
It only takes minutes to complete your felt board creation so you can spend your time enjoying your new, more colorful space. In fact, installing your felt tiles can be completed in just five simple steps.
1. Level: when installing a felt board of any size or shape, the first tile is the most important. This is because you’ll be using that first tile to line up the rest of your consecutive wall tiles. Use a level or any flat object and a pencil to lightly mark the top edge of where your first tile will be placed.
2. Peel: next, it’s time to peel off the adhesive tabs from the backing and then apply to the backside of your tile. Gently rub the tab with a solid object for 5-10 seconds (your thumb will work fine) and then all you have to do is peel off the back on the side facing your wall.

3. Align: line up the top edge of your tile with the pencil mark on the wall. Then, lower the body of the tile to the surface of the wall in the positioning you want. It can help to have a friend or family member here to ensure that you have proper alignment.
4. Press firmly: press your felt tile against the wall with firm pressure. Hold it in place for about 30 seconds and your felt tile should fit smoothly against your wall.
5. Repeat as needed: now all you have to do is repeat these steps for each consecutive tile in your felt board. As you install each tile, it’s fun to take a step back and watch as your felt art creation slowly takes shape.
And that’s it. In just a matter of minutes, you’ll be able relax and enjoy your new felt tile pinboard. Installing felt tiles is so easy that you can even have your kids or friends help out along the way.

Cleaning and Maintaining Your Felt Board
Not only are our Felt Right tiles easy to hang up and install, but they’re also easy to clean and maintain—ensuring that your entire felt board creation stays beautiful and fresh for years to come.
To remove dust from your felt tiles, all you’ll need is a quick touch-up with your normal vacuum or duster. If you’re looking to remove a stain or spot from the felt surface, just spray the tiles with a common household cleaner or use a damp rag to wipe down the surface. You can also easily disinfect your Felt Right tiles with any common home cleaning product. Felt tiles are designed to make your life easier (and more beautiful), which is why the innovative felt material we use is tough, durable, and easy to clean.

How to Safely Remove Your Felt Tiles
While felt tiles are durable and will add a splash of warmth and color to your walls for years to come, you may at some point want to make alterations to your felt board design. This is why we made our felt tiles easy to remove without harming your walls or paint. In just two steps, you can easily (and safely) remove your felt tiles.
When you begin removing your felt tiles, start by carefully separating each tile from the adhesive tabs on the back. To do so, simply insert your fingers between the wall and the tile and pull gently away from the wall. Light pressure is enough to separate the felt tile from the adhesive tab. When you remove the tile, the tabs will stay on your wall surface. Try to avoid pulling too hard or too quickly on the felt tile as the tile needs time to release from the adhesives.
Next, you’ll need to roll the tabs off from the surface of your wall. Start at the corner of one of the tabs and apply light pressure by rolling the tab off of the wall with your finger or thumb. Just like with the felt tiles, try not to yank or pull too quickly on the adhesive tab. Light, easy pressure is enough to get the job done. If you’re having more trouble getting the tab to start rolling, you can always use a pencil eraser to get it going.
After uninstalling your felt tiles, you may need new adhesive tabs. But don’t worry. Head on over to our online shop for additional adhesive tabs.

Conclusion – Installing Your Felt Right Wall Tiles in Just 5 Easy Steps
If you’re looking to transform the walls in your home or office, then look no further. Felt Right wall tiles are a convenient, eye-catching, and sustainable choice for the wall décor for any room in your space. Available in a wide array of colors, patterns, and even pre-made felt board designs, felt tiles allow you to express your own creativity and taste. With a simple, 5-step installation process, you can have your felt board creation completed in no time at all.
Head on over to our My Design page to get started building your very own felt pinboard for your home or office. Every product we offer is easy to install, easy to clean, and easy to remove. Our felt wall tiles are your choice for beautiful, functional, and convenient wall décor.

