Join Our Trade Program
Felt Right offers premium acoustic felt solutions tailored for designers, trade professionals, and contractors. As a Trade Member, you’ll gain access to top-quality products, responsive support, and exclusive discounts.
Apply Now
Trade Members-Only Benefits
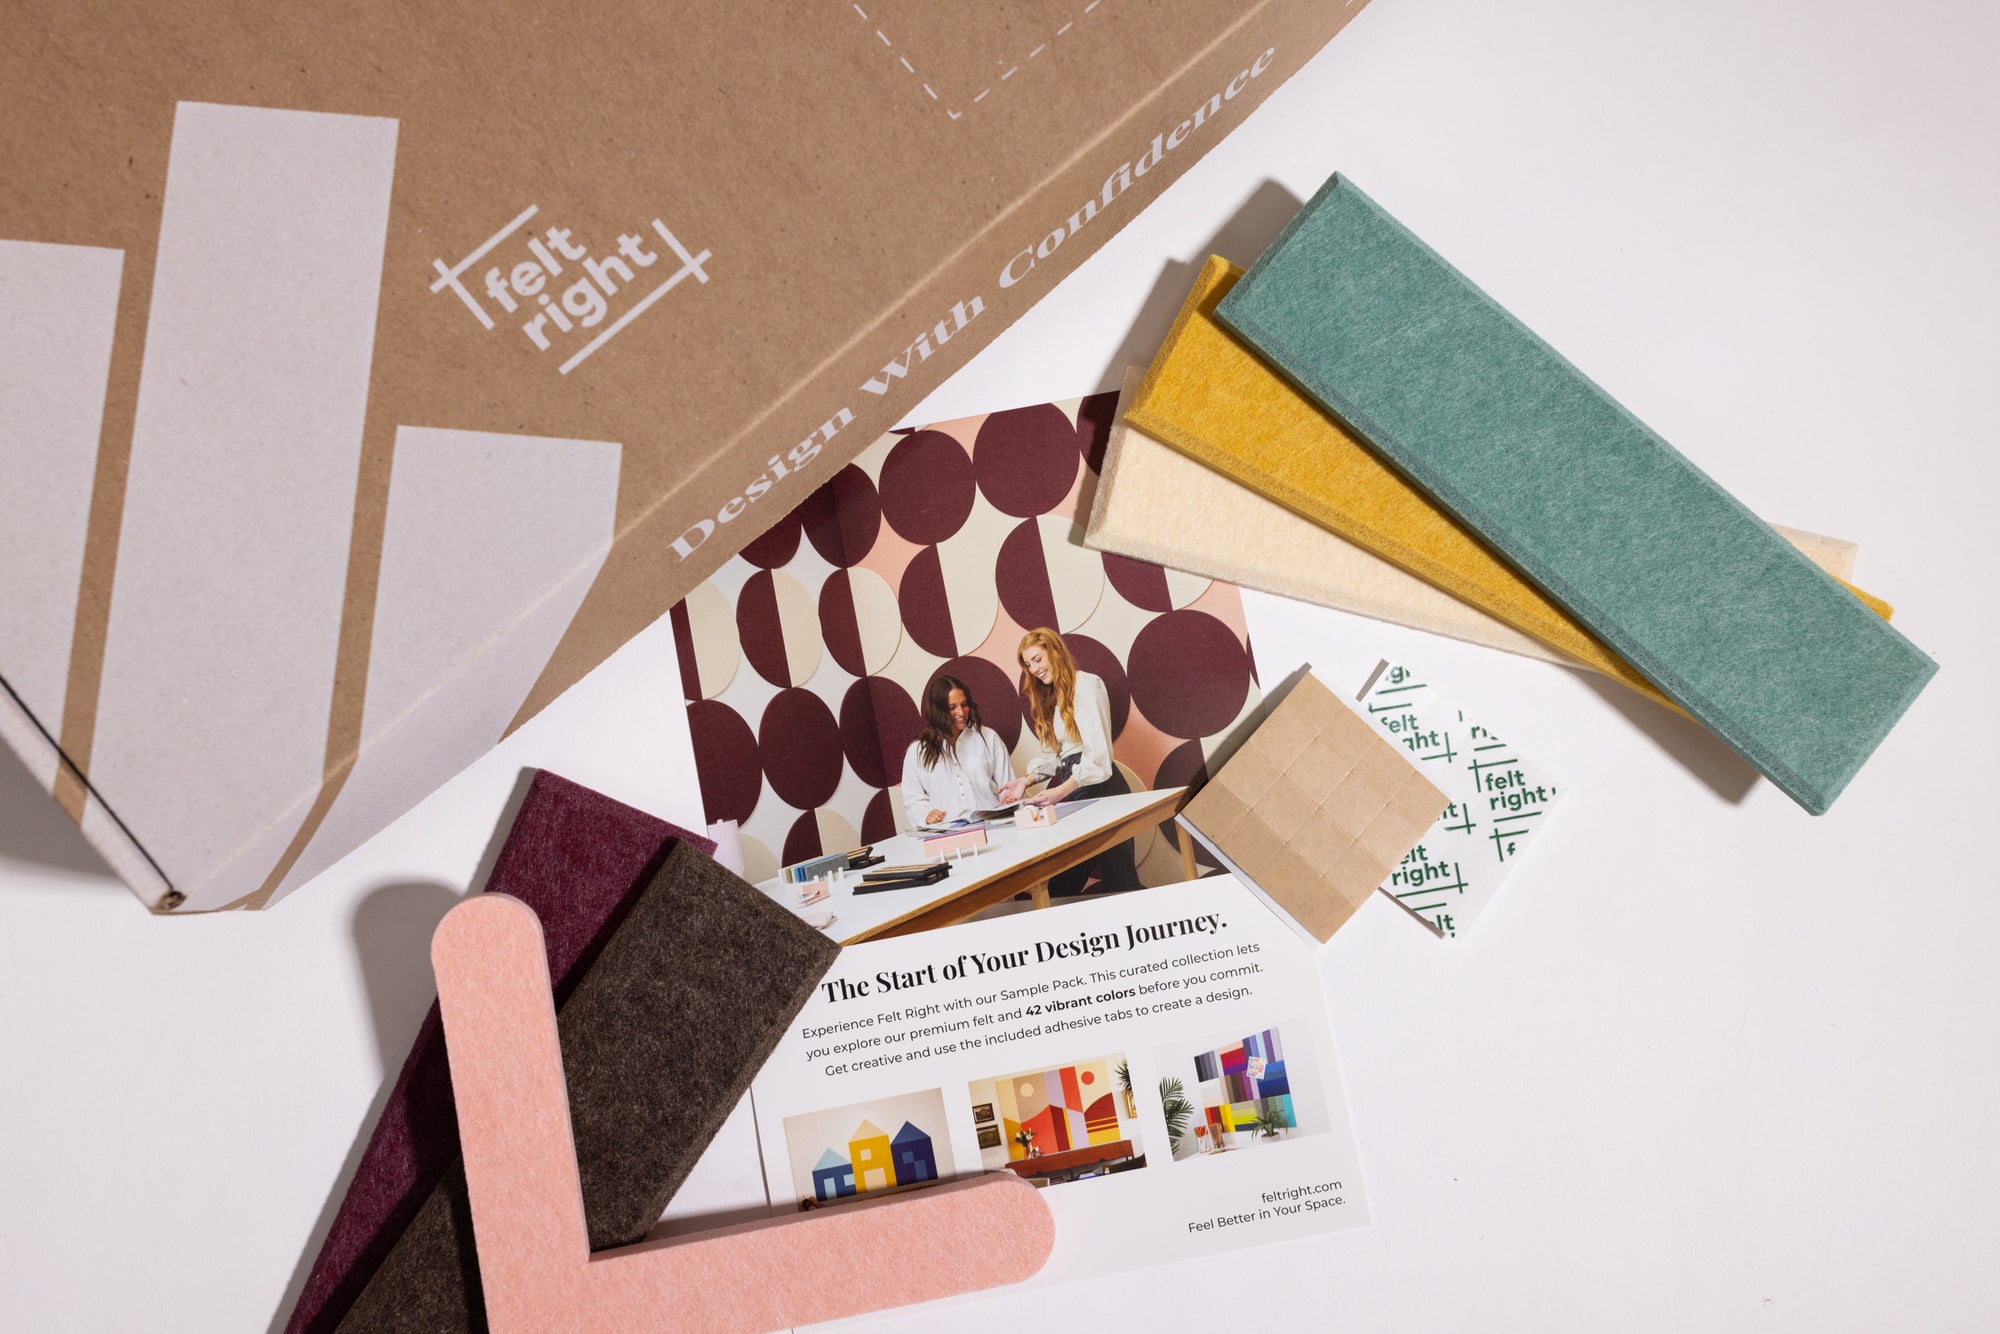
Free Samples
Trade Discounts
Design Assistance
Real-Time Quoting
Trade Partners
Installers, architects, and contractors trust Felt Right for premium acoustic felt solutions that add both function and aesthetics.

Why Join?
-
Exclusive trade pricing with high margins on resale
-
Free design assistance to support your clients' projects
-
CAD & Revit files to streamline planning and visualization
-
Fast lead times (1-2 weeks) to meet tight project deadlines
-
Showroom samples & marketing materials to help you sell with confidence
Tools to Help You Succeed
Members get access to free samples, spec sheets, and our Acoustics Calculator to make planning and pitching projects easy. Whether you’re outfitting a single space or a full build, we’ve got the resources to help you win more clients and close projects faster.