

Installation Guide - How to Mount Felt Wall Tiles
Felt Right tiles are quick and easy to install—most designs can be up in the time it takes to enjoy a cup of coffee. Each order includes peel-and-stick tabs, plus extras for trial and error. Watch the video below to see how simple it is!






Install Like a Pro
Felt Right tiles are quick and easy to install—most designs can be up in the time it takes to enjoy a cup of coffee. Each order includes peel-and-stick tabs, plus extras for trial and error. Watch the video below to see how simple it is!
1. Unbox And Prep
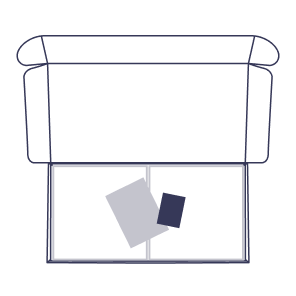
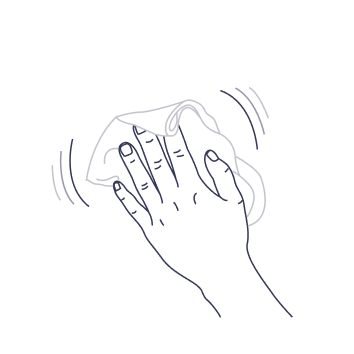
Unbox your design and check for all parts: tiles, tabs, layout guide, and instructions. Lay out your design on a flat surface to confirm the layout and tile count. Measure and mark the center point on your wall and guide to align the design. Wipe the wall clean and let it dry before installing.
2. Tab Your Tiles
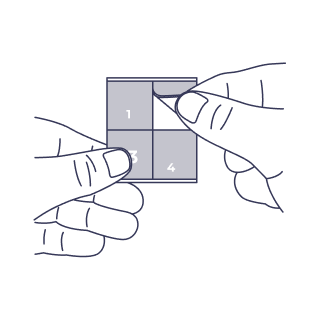
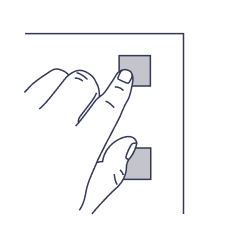
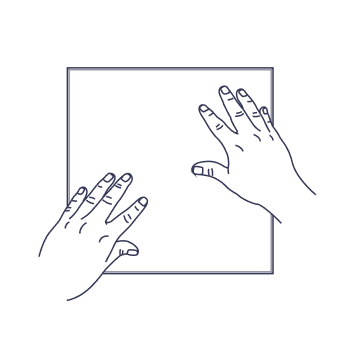
Start by peeling a tab from the branded liner, each liner has four adhesive tabs. Following the adhesive layout guide, press the tabs firmly onto the back of the tile, especially near the edges. Rub each tab for 10-15 seconds to ensure full contact.
3. Install Your Tiles
Start with one or two tiles from the center of the bottom row. Peel the tab backing and press the tile to the wall for 30 seconds. Use a level to keep it straight.
Place each tile snugly against the last, checking edges for alignment. If needed, gently reposition. Step back often to check your progress and keep rows level.
Keep going row by row until your design is done. That’s it—enjoy your new Felt Right wall!

Tips On Layered Designs
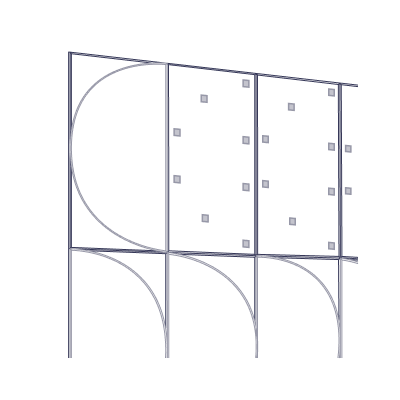
For designs that use two layers of tiles we recommend upgrading from our standard adhesive tabs to our Commercial Grade kind.
This ensures your design stays securely in place and can support the added weight of the two layers.
Tips On Permanent Installations
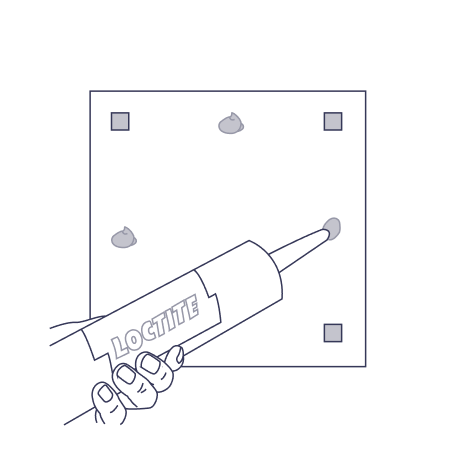
For large-scale or more permanent installations, we recommend using our commercial-grade adhesive tabs along with a construction adhesive like Heavy Duty Loctite.Add a small dab—about the size of a penny—between each tab. The tabs hold the tile in place while the adhesive sets so make sure you use both.
Cut Like a Pro
Need a custom fit? Cutting tiles is easy. We’ll walk you through the process in three easy steps. All you will need is a sharp utility knife, straight edge, cutting mat, tape measure, and a pencil.
Remove Like a Pro
Ready for a refresh? Whether you’re moving or updating your design, removing your Felt Right tiles is easy and only takes two simple steps.