Apex Tiles (.55 NRC)

These acoustic wall panels interlock to create an intriguing 3D effect. Available in 42 colors, these high performing acoustic panels bring enhanced acoustics and aesthetics to any space. 

Six Bright Crimson Apex tiles in bright lively dining room setting
Black felt acoustic tiles in a room with a couch that creates a 3D design
$299.95
Best Seller
Shop Now

Bring a bold, faceted silhouette to any wall

  • NRC: 0.55
  • Lead Time: 6-7 Business Days
  • Available in 42 Colors
Shop Apex
Soft green sound absorbing felt all tiles in a geometric  pattern above a living room sofa
$299.95
Best Seller
Shop Now
Brown acoustic felt tiles with peak designs above a brown couch
$299.95
Best Seller
Shop Now

Tools To Help You Succeed

Before, During, and After Your Project

Two women standing in front of a colorful abstract wall mural.

Talk to an Expert

Work with a team member for expert support at every stage of your project.

Free Acoustic Assessment

No‑obligation virtual acoustic assessments tailored to improve your space's sound.
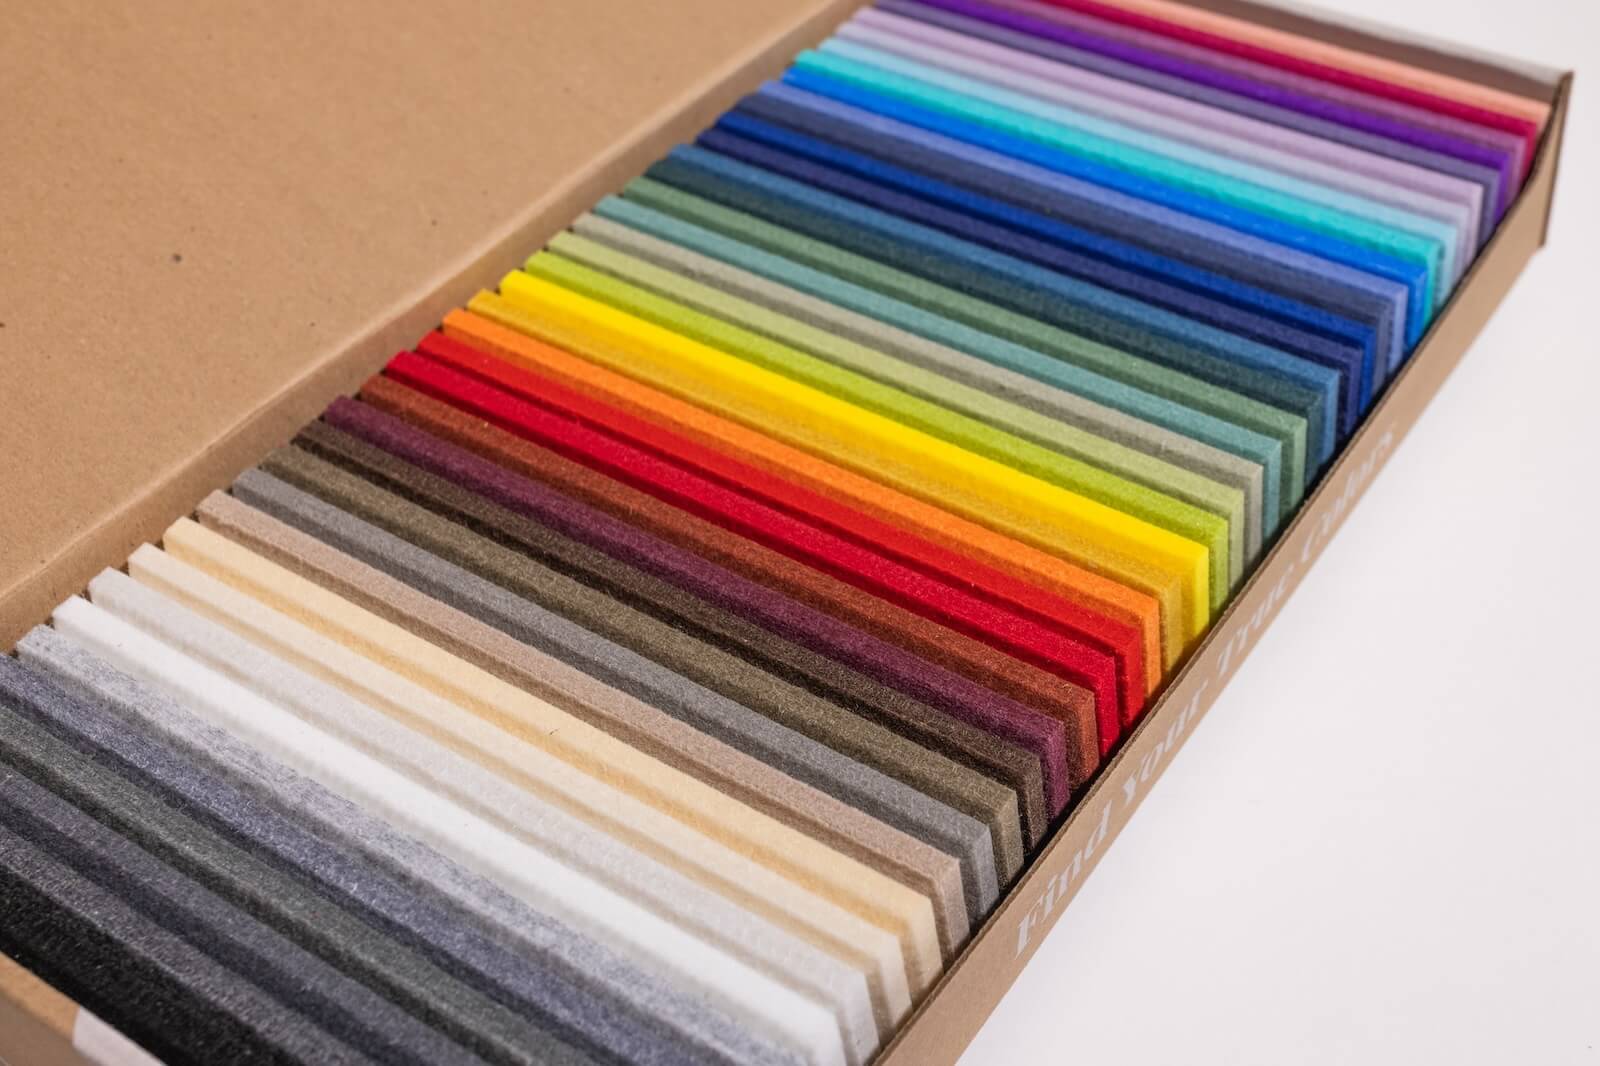
felt-wall-samples

Trade Program

Members get free samples, spec sheets, and exclusive discounts to make projects even easier.

Two-Year Warranty

Two-Year Warranty

We proudly stand behind the quality and craftsmanship of our products.

Sustainable Materials

Sustainable Materials

Our PET felt is made from at least 50% recycled plastic with no red-list chemicals.

Award-Winning Colors

Award-Winning Colors

From bold, rich hues to soft, subtle tones, our 42 colors capture it all!

Easy to Install

Easy to Install

Each felt wall design comes with double-sided adhesive tabs for an easy installation.

Frequently Asked Questions

Step 1: Peel 1 of the 4 adhesive tabs from
the branded liner

Step 2: Firmly press and rub the whole tab, including the edges, onto the back side of the tile. Place the tabs according to the Tab Placement. Remove the backing, leaving the adhesive on the tile. Place the tile against the wall and apply pressure for up to 30 seconds for the best results.

Step 3: Place the tile on the wall by positioning one end first. Make sure it’s level, then gently slide the other end into place until the tile “locks” and the seam is tight.

Step 4: Press the tile firmly against the wall for about 30 seconds to ensure the best hold.

Click to read our PDF instruction sheet.

Click to watch this installation video.

Adhesive Removal Disclaimer: While our default adhesive tabs are designed to be removable, removal results may vary. In some cases, tabs may be more difficult to remove or may cause minor damage to paint or wall finishes. Factors such as room temperature, prolonged sun exposure, wall material, surface texture, paint type, paint condition, and the length of time installed can affect adhesive performance. We recommend testing a tab in an inconspicuous area before completing your installation and following all removal instructions carefully.

Product Type NRC Rating
9mm Felt Tiles / Sheets 0.35
18mm Felt Tiles / Sheets 0.65
3D Felt Tiles (9mm) 0.55
3D Boxes (2" Deep) 0.80
3D Boxes (4" Deep) 1.10
Cloud Baffles 0.80
Blade Baffles 0.65
Acoustic Beams 0.80
Wood Slat Panels (Wall Mount) 0.55
Wood Slat Panels (Ceiling Grid) 0.85

Note: All values are based on ASTM C423 lab testing and reflect standard installation configurations.
Need help selecting the right acoustic setup for your space? Email design@feltright.com for a custom consultation.

We do not color-match fiber-dyed felt. However, we offer:

  • Custom printing on the face of the felt
  • You may submit CMYK or hex codes for digital color matching

Keep in mind that printed colors won’t cover the edges or chamfers — those will remain the base felt color.

Our tiles are crafted using recycled PET felt and dyed in batches, so slight dye-lot variations may occur between orders. While we follow strict color standards, some variation is a natural part of the process.

Planning to expand a design later? Order a few extra tiles now to ensure a perfect match. Have a follow-up order and need help matching? Contact us at support@feltright.com — we’re happy to assist!

Yes. Wood slat ceiling panels suit both residential and commercial installations, and they fit the standard 2 ft x 2 ft ACT grids already in most offices, restaurants, studios, and multi room projects. Felt Right acoustic products meet commercial performance standards for durability, acoustic performance, low VOC indoor air quality, and an ASTM E-84 Class A fire rating.

These tiles can easily be installed in three simple steps:

1. Prep Your Wall

Clean and dry surface
Lay out your design on the floor first

2. Stick Tabs to Tiles

Place adhesive tabs on the back (corners + center)
Press firmly to activate

3. Press & Align on Wall

Start from center or straight edge
Press firmly on each corner
Check alignment as you go

You can reference our Installation Page for a step by step video explanation as well! This page also goes over cutting the tiles, permanent installations, and layered designs. Click here to view our 4 Spacing Tools for designs with negative space.

Adhesive Removal Disclaimer: While our default adhesive tabs are designed to be removable, removal results may vary. In some cases, tabs may be more difficult to remove or may cause minor damage to paint or wall finishes. Factors such as room temperature, prolonged sun exposure, wall material, surface texture, paint type, paint condition, and the length of time installed can affect adhesive performance. We recommend testing a tab in an inconspicuous area before completing your installation and following all removal instructions carefully.