

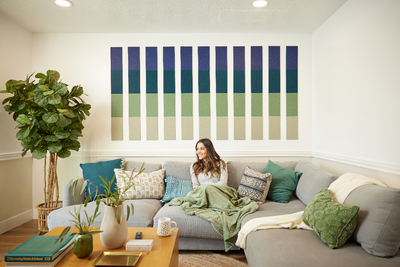
Your Acoustic Solutions
Based on your calculator results, here are your coverage options:
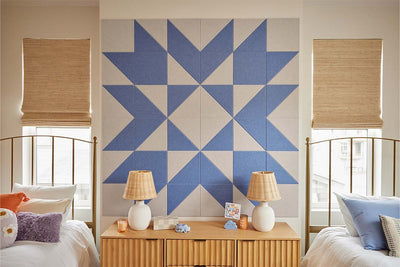
Wall Units
Coverage: [[ applyMultiplier(commercialSolutions.maxWall.wallSqFt) ]] ft²
Suspended Modular Room Divider
Ceiling Units
Coverage: [[ applyMultiplier(commercialSolutions.maxWall.ceilingSqFt) ]] ft²
Ceiling Products
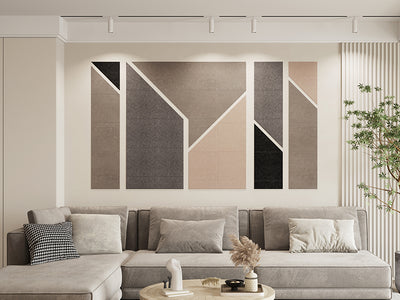
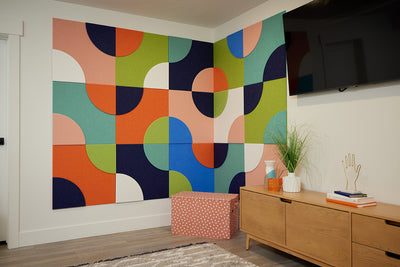
Wall Units
Coverage: [[ applyMultiplier(commercialSolutions.balanced.wallSqFt) ]] ft²
Suspended Modular Room Divider
Ceiling Units
Coverage: [[ applyMultiplier(commercialSolutions.balanced.ceilingSqFt) ]] ft²
Ceiling Products
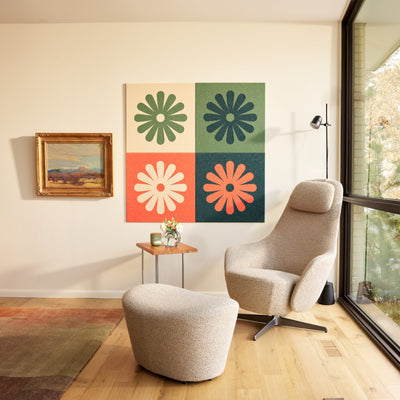
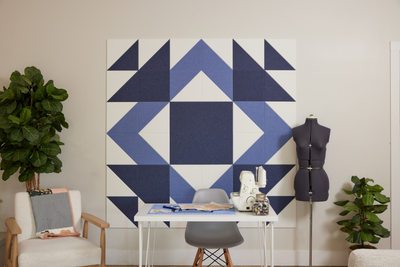
Wall Units
Coverage: [[ applyMultiplier(commercialSolutions.maxCeiling.wallSqFt) ]] ft²
Suspended Modular Room Divider
Ceiling Units
Coverage: [[ applyMultiplier(commercialSolutions.maxCeiling.ceilingSqFt) ]] ft²
Ceiling Products
Your Acoustic Recommendations
Based on your calculator results, here are your coverage options:


- Easily hangs to divide space while reducing noise.
- Absorbs 55% of sound waves
- Helps create a quieter, more focused environment.
A suspended acoustic room divider system built for open-plan offices, conference rooms, lobbies, healthcare facilities, and education environments. The high-density PET felt construction absorbs 55% of sound waves and carries a Class A fire rating, supporting focus and acoustic comfort across commercial interiors without permanent construction. Choose Modular for a three-piece configuration that ships standard, or Flat for a single-piece architectural finish.
These products are cut to order and cannot be returned or exchanged.
Modular Dimensions: 47" x 90"
ACT/Drop Ceiling
- Pop out the decorative cutouts from your partition, then mark the ceiling 22" apart using the panel holes as a guide. Attach and twist the ACT clips into place.
- Attach the panel connectors to the pre-drilled holes, measure and cut your cable leaving 1-3" of slack, then insert the cable into the chrome connector.
- Hook the connector onto the ACT clip, check that the panel is level, then trim any remaining excess cable.
Flat Ceiling
- Pop out the cutouts, mark the ceiling 22" apart, drill a 5/32" hole, insert the drywall anchor, and screw the base into place.
- Attach the panel connectors to the pre-drilled holes, then measure and cut the cable with 1-3" of extra length.
- Insert each cable into its panel connector using the spring-loaded top, then check that everything is level.
- Trim the remaining slack once you're happy with the height and alignment.
Due to sizing constraints, Felt Right Room Dividers, with exception of Modular Dividers, are ineligible for free standard shipping and must be shipped on a pallet via freight. Shipping charges will be calculated at checkout.
Returns: These products are cut to order and cannot be returned or exchanged.


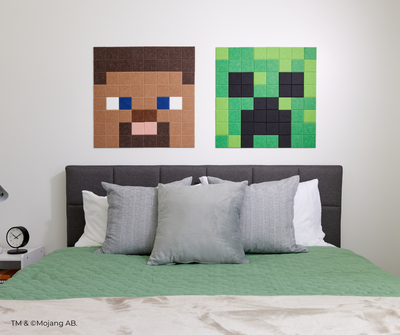
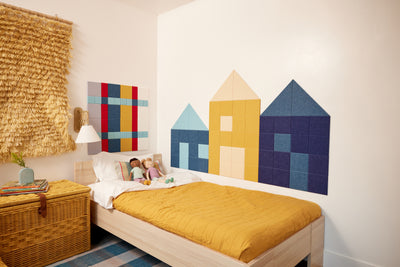
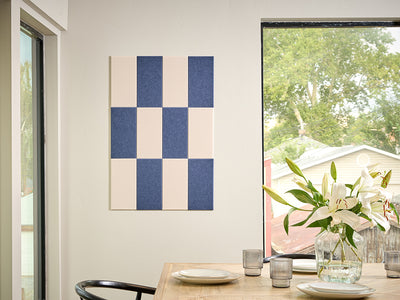
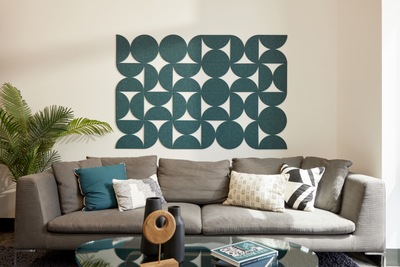
Best Selling Designs


Felt Right FAQs
Reduce Noise

Installation Guide

Make it Your Own
