

FELT RIGHT SOLUTIONS:
Video/Phone Conversations

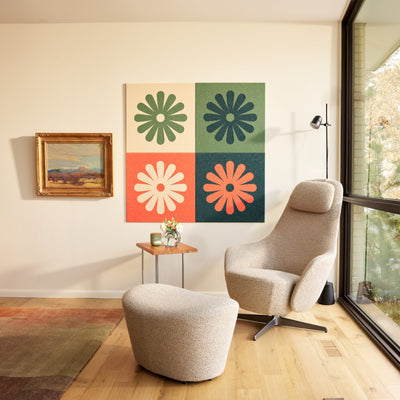
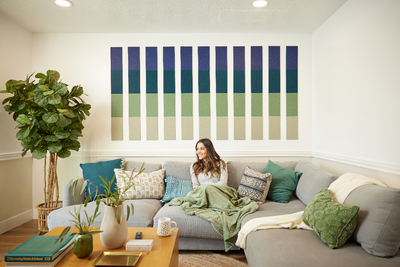
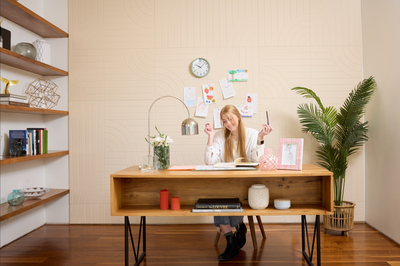
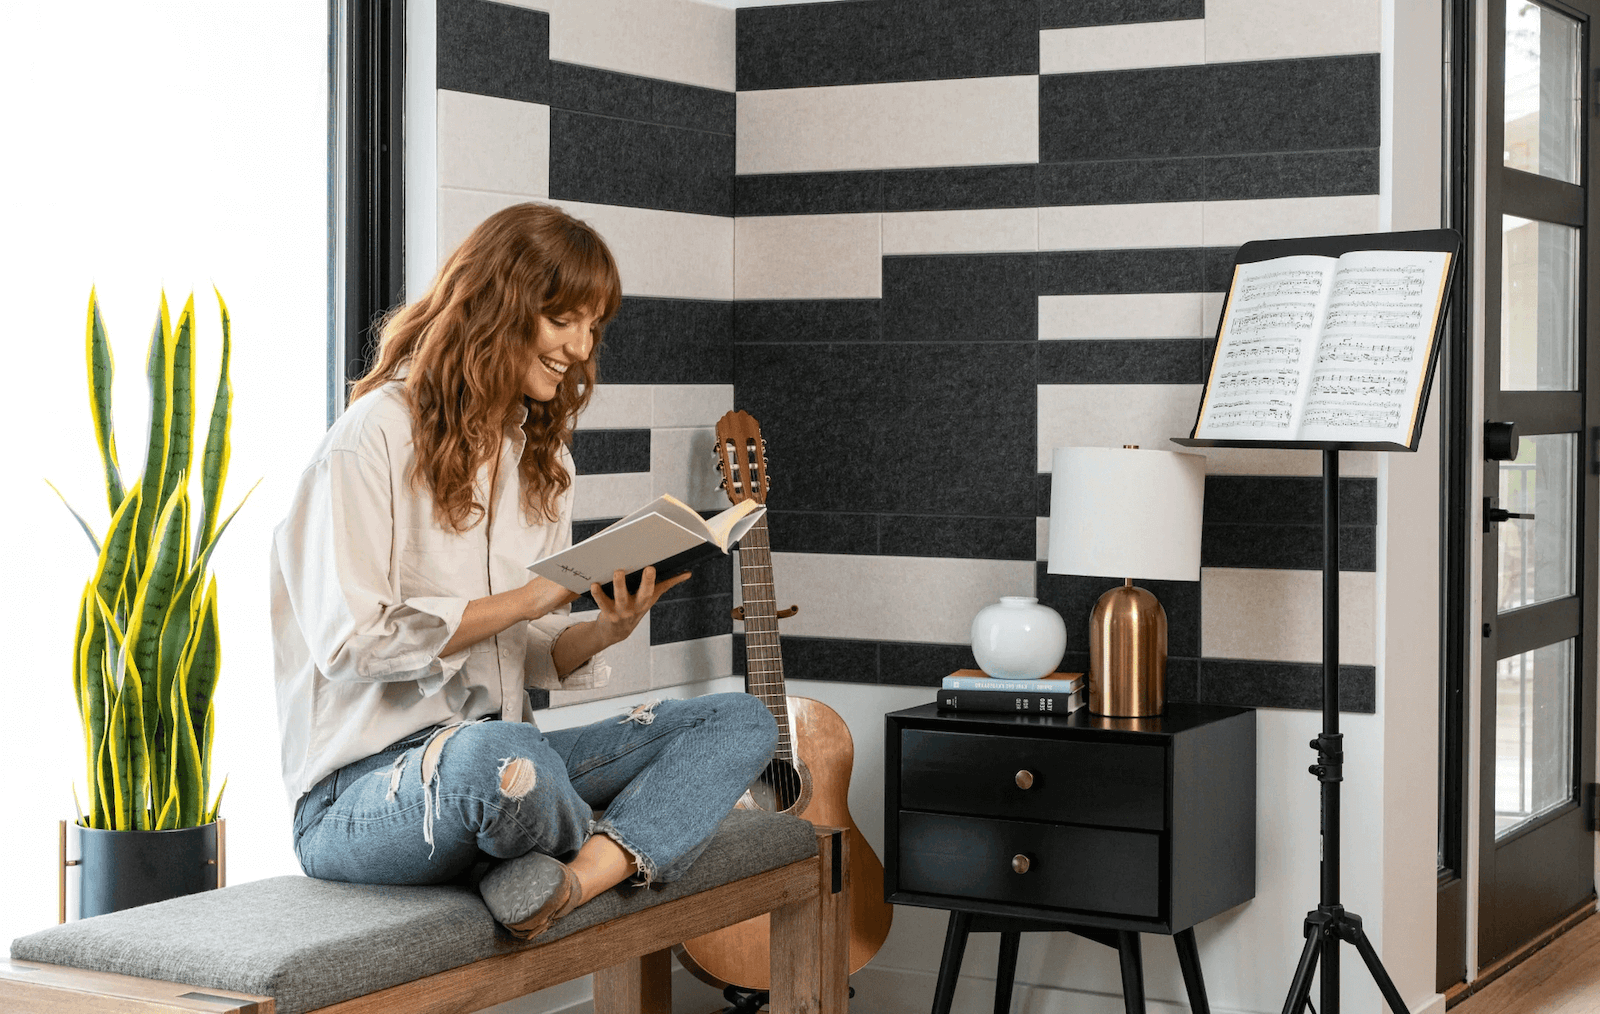
Designated areas for video and phone conversations tend to evolve naturally, whether it’s a quiet part of the house we always move toward to hear phone conversations better, or it’s our office desk where we take video calls since our webcam is there. Whatever the situation, an ideal space should allow us to be seen and heard clearly and professionally without introducing noise or visual clutter from the space itself. Acoustic treatments such as Felt Right tiles are perfect for video & phone conversations, taming the acoustics of a space while providing beautiful backdrops for video calls.
Acoustic Considerations

Background Noise Levels

Room Echo/Reverberation picked up by microphones

Desks, tables, and computer monitors add additional reflection points

Webcam Microphone Types
You Ask. We Answer
Acoustic Solutions

For workstations against walls & using webcam’s mic:
If possible, angle your desk and/or computer monitor to force sound reflections (your voice bouncing off hard surfaces) away from the microphone. Use the mirror trick.

ADD ABSORPTION IN SMALL/TIGHT SPACES
More absorption is better, and treating first reflection points will have greater acoustic impact (use the mirror trick). If using Felt Right tiles, consider treating walls that are close behind you for both acoustic and visual appeal.

ADD ABSORPTION BASED ON MIC TYPE (WORKSPACES FACING WALLS)
Phones and most webcams have “omnidirectional” 360° microphones which benefit from absorption at any nearby reflection point (front wall, side walls, ceiling, desktop). Higher-quality webcams have “cardioid” mics that benefit more by treating reflection points in/near the camera’s field of view.
REDUCE BACKGROUND NOISE
If background sound levels are high due to sound leakage from other rooms, visit the Noise from Adjacent Spaces page. For noise sources in the room, adding absorption will help somewhat, but you should make every effort to move noise sources away from your recording area (or vice versa) or outside of the room entirely.
Placement For Your Space
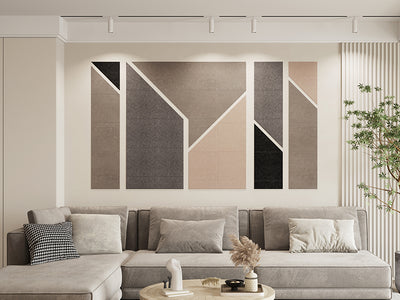
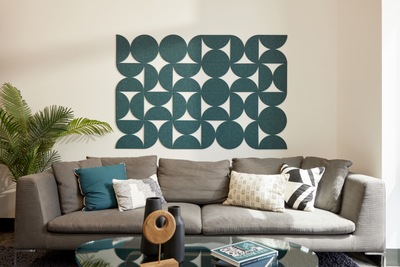
When adding absorbers such as Felt Right acoustic tiles, consider these placement options.

1.
Behind the head for video calls (zoom, teams, skype).

2.
Hard surfaces immediately around the video/phone mic and person speaking.

3.
First reflection points for webcam and speakerphone setups.
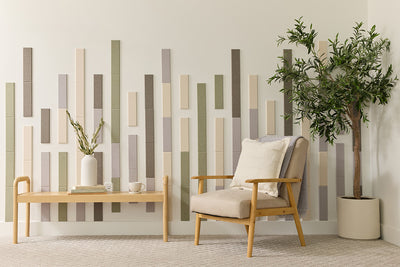
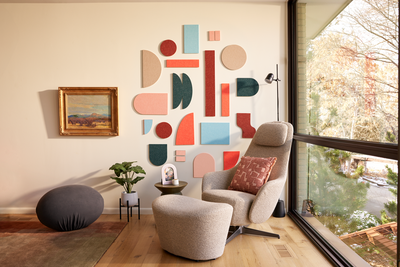
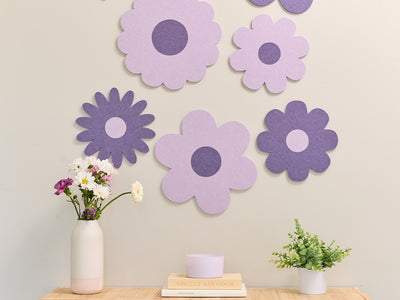
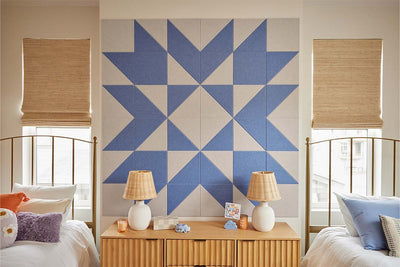
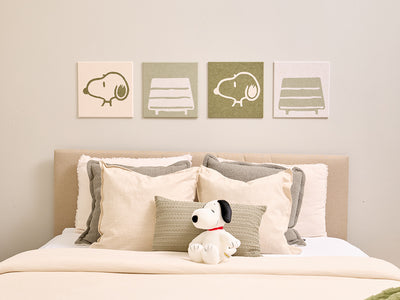
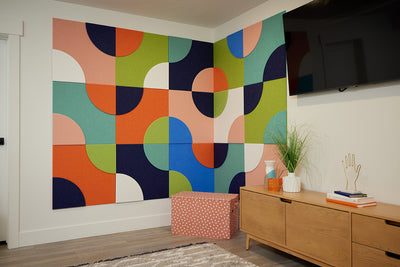
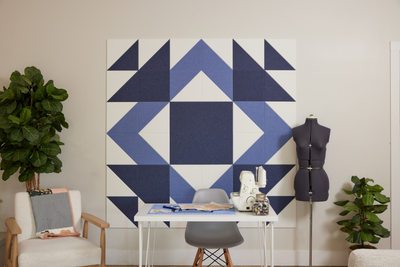
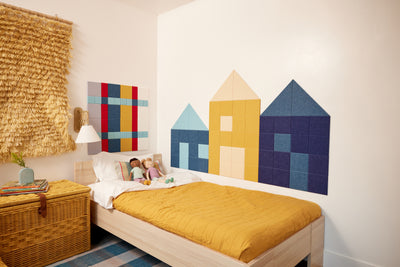
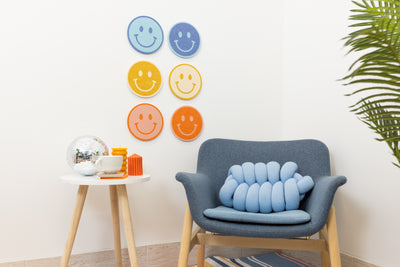
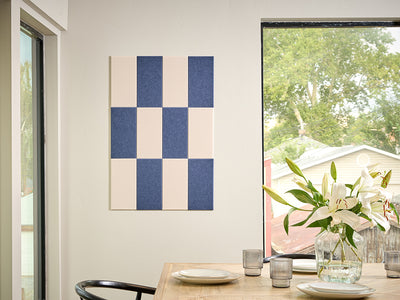
You May Like These Felt Right Solutions


Sound Control For Your Space


Installation FAQs
For smaller, semi-permanent applications, we recommend using Felt Right commercial grade adhesive tabs. Adhesive tabs make for a quick and easy installation process and are included with every order.
For larger, permanent or overhead applications we encourage installers to use a construction adhesive like Liquid Nails, Roman-555 Extreme Tack Wallcovering Adhesive, or VHB tape to adhere tiles to wall or ceiling. Felt Right tiles are precision fabricated to allow for seamless installation and are a favorite with the construction trade.
Every order of Felt Right tiles comes standard with adhesive tabs. At checkout, you are given the option to choose between Paint Safe and Commercial tabs. For more information on the difference between tabs, see here.
Our felt wall panels are easy to clean and maintain. To remove dust, all you need is a vacuum wand or hose. For spot cleaning, all you need is a damp rag or household cleaner to spray the tiles and wipe them down. For high-traffic, commercial applications, you can disinfect Felt Right tiles with multi-purpose cleaning products. For more information, see our cleaning guide.
There are 2 important steps to uninstalling Felt Right tiles without damaging paint:
Step 1: Carefully separate each tile from the adhesive tabs.
Tiles are removed, leaving the tabs on the wall surface. This is done by inserting fingers between the tile and the wall, away from the tab location, and gradually applying pressure until the tile separates from the tabs. Avoid pulling the tile directly away from the wall in an abrupt or forceful manner as the tile needs time to release from the tabs.
Step 2: Roll the tabs off the wall.
Once the tile has been removed from the wall, leaving the tabs, then remove each tab from the wall. This is done by starting at a corner of the tab, applying pressure, and rolling the tab off of the wall with your finger or thumb. Avoid pulling the tab directly away from the wall.
If you have difficulty getting the tab to begin rolling, you can use a block pencil eraser to start the process.
Yes, you can use Felt Right tiles for ceiling applications. However, we do recommend using Felt Right Commercial-Grade adhesive tabs to create a stronger, semi-permanent bond.
Felt Right tiles are not suitable for flooring applications.
Felt Right tiles are easily installed with a tape measure, a level and a pencil. Simply orient your first few tiles and then build out your design from there. Most designs can be installed in less than an hour!