Pro Installation Tips for Felt Right Felt Tiles

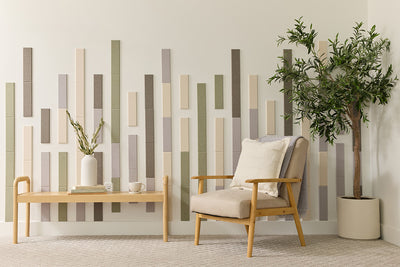
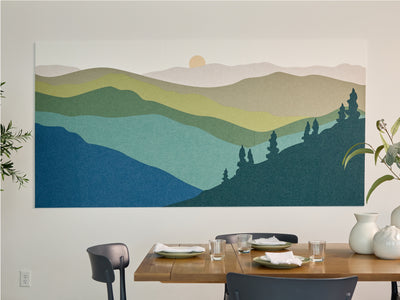
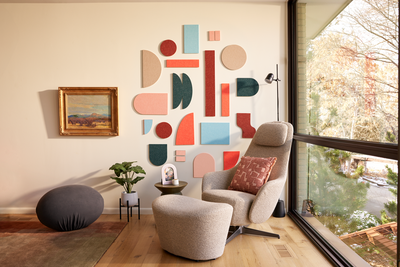
With a wide array of colors and shapes, warm texture, and a unique sound-dampening property, there are many reasons to love our felt tiles for your home or office. But did you know that installing your felt board creation can be done in just a matter of minutes? With a quick and convenient installation process, Felt Right has made decorating your walls easy. In just a few simple steps, you can completely transform the walls in your space.
But some felt boards and designs will inherently take a little more work than others. But you shouldn’t let any installation concerns prevent you from creating the perfect felt tile design. That’s why, with the help of the Felt Right family, we’ve assembled some of our favorite pro installation tips so that it’s easier than ever to bring your felt tile creation to life.
Felt Right is your industry leader in state-of-the-art felt tiles and felt pinboards. We offer PET felt tiles in a wide range of colors, patterns, and felt board designs so that your felt tile creation is truly unique. Our felt tiles are a quick and easy way to add warmth, color, and texture to the walls in your home or office. And with a sustainable manufacturing process and recycled plastic in each of our tiles, you can feel good about your wall décor.
Pro Tip 1: Laying Out Your Design
The secret to an amazing felt board is preparation. Before hanging up that very first tile, it can help to lay out your design on the floor so you can visually assess how the end result should look on your walls. For our first pro tip, we recommend that you lay out your design according to the instruction paper before installing on the wall. This will help you keep track of where the tiles should go.
Laying out your design made easy.
Pro Tip 2: Correct Spacing for Diamond Tiles
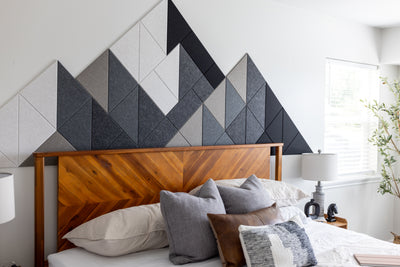
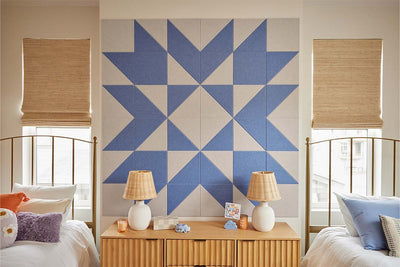
Are you looking to go beyond the traditional square tile shape for your walls? If so, we’ve got a range of different shapes to give you full control over your felt board design. Our diamond tiles are a popular choice for crafting an eye-catching felt tile design. But it can also be tricky to correctly space these tiles.
Here are a few things to remember when spacing your diamond tiles:
- Focus on aligning the straight edges of the diamond tiles versus the pointed corner pieces.
- By aligning the straight edges, there will be a small space in the pointed corner that is necessary for the next tile to be installed.
- Leaving a small space in the corner allows for the outside of the tiles to be flush.
Learn how to space out your diamond tiles correctly here.
Pro Tip 3: Finding the Center Point
No matter the size of your felt board, that very first tile you hang up is key. The first tile serves as the “anchor” for the rest of your felt board, ensuring that it’s balanced, so you want to make sure you get this one right. By finding the center point for your tile, you can more easily match it up to where it should hang on your wall.
Pro tip for finding the center point of your tile:
- Find the center point on your instruction paper.
- Mark it on the wall with a piece of tape.
- Now you can install knowing your design is centered.
Find your center point here.
Pro Tip 4: Improving Your Cinematics
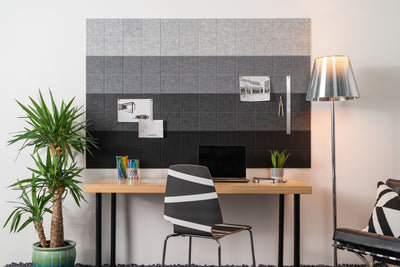
For many of us, your television is a main feature in your living room or entertainment room. But often, it can be a challenge to know what to do with that blank wall behind your television. You don’t want to partially or fully cover up a special photograph or painting, but you also don’t want to be left with a stark, naked wall. On top of that, an empty white wall can actually detract from your viewing experience as the bright colors reflect light and can make it harder to enjoy your favorite movie or show.
But Felt Right can help. Using some of our darker tones, such as a palette of blacks or grays, you can create a darker background behind your TV that will make the screen look more vivid and bright.
See how you can improve your cinematic experience with our darker shades of felt tiles.
Pro Tip 5: Saving Time & Money with Engraved Felt Tiles
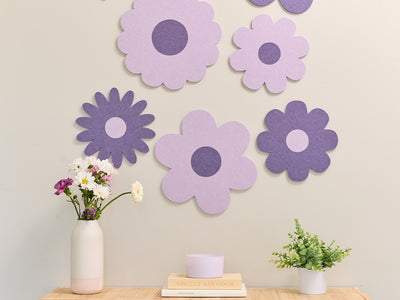
With a wide selection of shapes, you can graduate from traditional squares and easily create unique and eye-catching felt pinboards. By combining different shapes and sizes, you can also save time and money with our engraved felt tiles.
Here’s some quick Felt Right math:
- 4 mini shiplap = 1 parallel square.
- 2 triangles = 1 slash square.
- 4 quarters = 1 four square.
Do the math yourself with our felt tiles here.
Pro Tip 6: Applying the Adhesive Tabs to Tiles
Properly applying the adhesive tabs to the back of your tiles is essential to ensure that they stay secure on your walls. That’s why we recommend taking your time and making sure you firmly press the adhesives to the back of each tile. As a quick pro tip, you can use the backing of the sheet to apply the adhesive tape to the tile. But don’t worry if you slip up with one of the adhesives. We include a few extras and you can always purchase more paint-safe adhesive tabs and commercial adhesive tabs on our site.
Watch how to easily apply adhesives to the back of your felt tile.
What Are Your Pro Installation Tips?
Hopefully these 6 pro installation tips helped you with your next felt board creation. But that’s really just the tip of the iceberg. There are so many unique and creative ways that our customers have found to bring their felt tile designs to life. If you have any installation tips of your own or unique design ideas, we’d love to hear from you!
Contact us with your own pro installation tips. Or you can always say hi to us on our Instagram where we’re continually posting new installation tips and design ideas.

Conclusion – Pro Installation Tips for Felt Right Felt Tiles
Whether using felt tiles for your home, office, or any other interior space, you’ll love just how easy and convenient we’ve made the installation process. Believe it or not, but most individuals can complete their felt board creations in just a matter of minutes. No need for an installation crew or even any previous experience. In fact, many of our customers even have their kids help them out as a fun way to decorate your space together.
But we also recognize that some felt boards will be more challenging than others. That’s why we’ve assembled some quick and easy installation tips so that nothing holds you back from your creative vision. With countless colors, patterns, and shapes, the only limitation for what you can do from your walls should be your own imagination.
If you have any additional questions about installing our felt tiles, head on over to our installation page for more information. When you’re ready to start designing your own felt board, visit our My Design page today to get started.

