How to Do a Large-Scale Installation with Felt Board Tiles
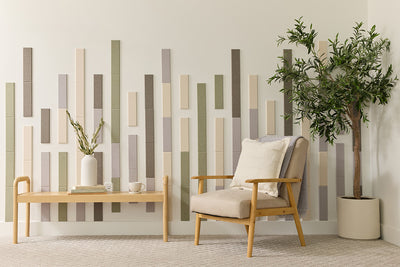
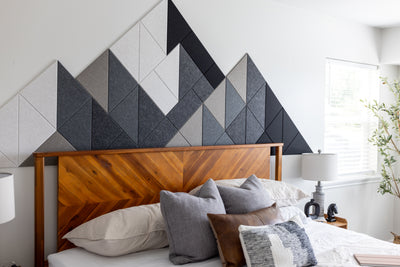
Felt tiles have become an increasingly popular option for home and office décor. Not only do they add color and dimensionality to your walls, but felt tiles also have a natural sound-dampening quality. The combination of function and aesthetic makes felt tiles the perfect choice for decorating your home, office, recording studio, or kids room while helping you find a little peace and quiet. Since our felt tiles are fully customizable, the varied shapes and textures offer unlimited possibilities with your design to create something that fits your style.
At Felt Right, we offer a wide range of colorful, creative, and customizable felt wall tiles to help you redesign and reimagine your wall space. With our variety of colors, designs, and pixel art, you can let your imagination run wild as you create the perfect felt tile design - the only limitation is the size of your wall space.
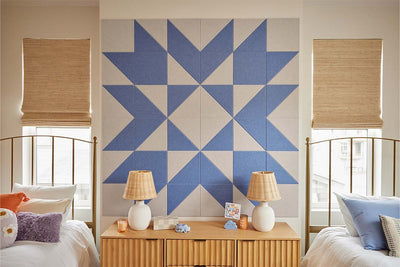
And while wall tile designs for large spaces are incredibly easy to set up and install, there are certain things you’ll want to keep in mind when setting up for bigger projects. As your felt tile board grows in size, even a small measurement or alignment adjustment can have a big impact.
Thankfully, we have some pro tips to help make installation easy. Read on as we walk you through doing a large-scale installation with felt board tiles, offer some pro tips for large-scale designs and review some of the top benefits of using this innovative, unique, and sound-dampening material for your home or office.

WHAT ARE THE BENEFITS OF FELT BOARD TILES?
Compared to other materials, there are many benefits to using felt board tiles for your home or office space. Here’s a look at some of the top benefits of felt tiles:
- Sound-dampening qualities – with a noise reduction coefficient (NRC) of 0.35, felt tiles will absorb about a third of the reflected sound in your room. These sound absorbing panels can be especially effective for your work area.
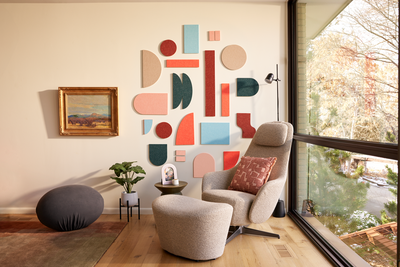
- Color and dimensionality – felt tiles can bring an unmatched warmth and texture to any room in your home or office. They add texture and dimensionality without feeling intrusive. With the wide range of available colors, felt board tiles will fit any individual style or taste.
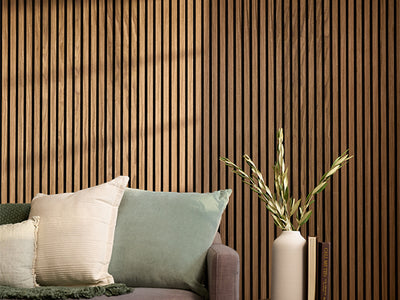
- Warmth and richness - Felt Right tiles have a warm, wool-like appearance which makes any space more inviting, luxurious and cozy. In addition to reducing noise, the tiles add a sense of comfort and coziness that makes you want to curl up and read a book.
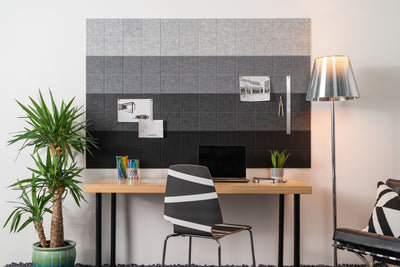
- Versatile and functional – felt tiles do more than just look good. You can pin, hang, and remove important notes, documents, or photographs to these felt boards with ease. This makes them ideal for a home office space where you’re trying to cut down on clutter and do more with less space.
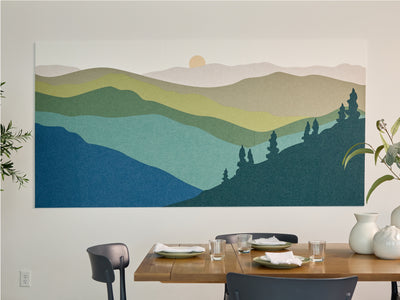
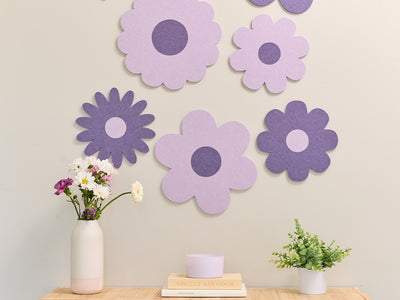
- Fully customizable – felt board tiles are designed to fit your specific needs and aesthetic. Since these tiles are fully customizable, you can craft any design you can imagine—no matter the size or scale. You can also choose from one of our pre-designed pixel art designs (like our popular pixel cat).
These are just a few of the reasons that homeowners, office managers, teachers and other individuals choose to install custom felt tiles.
TIPS FOR DOING A LARGE-SCALE INSTALLATION
No matter the size of your felt board design, felt tiles are relatively quick and easy to install. In fact, you can let the whole family be a part of the fun in arranging and installing your felt tiles. However, like any project, as the size increases you may run into more issues. This is completely natural. That’s why we’ve put together a few pro tips for doing a large-scale installation with felt board tiles. Here’s some steps and tips to keep in mind:
1. Know your space.
Before you begin your installation, make sure you have a clear understanding of the space you’re working with. Measure out the available wall space while keeping in mind spacing options (most people don’t want their felt boards necessarily stretching from the ceiling to the floor). Use reference points and careful measurements so you know how many modular wall tiles you’ll need for the design.
2. Getting the spacing right.
With larger projects, you don’t want to just rely on your eyes to get the job done. Acoustic tiles for offices are easier to set up when you use reference points and actual tiles to help you space out the design. Using a level can be very helpful. Have a clear picture in mind before you hang up your first felt tile. It’s also helpful to use a pencil to lightly mark the positioning of the first few tiles to set a bearing.

3. Work in columns or rows.
In some cases, it’s easier to work in columns and in other situations it’s preferable to work in rows. This largely depends on the reference element in your space. For example, if the design is largely horizontal and the reference line is a floor or ceiling, then it is better to work in rows.
On the other hand, if the design is more vertical and the visual, it’s much easier to work in columns (moving vertically) compared to rows (moving horizontally). Instead of moving bottom up, work your way down as it’s easy to align and space out the felt tiles with this method.
Additionally, this means you won’t have to move your ladder as much. When working with columns, ensure you work from one side to the other. If you start a column on both sides and try to work inward, the design may not line up correctly.
4. Chunk by chunk approach.
Breaking down larger installations into smaller “chunks” can be an effective strategy for these bigger projects. Depending on your design, try to visualize how you can break it down into smaller components and then focus on hanging these up one by one. Divide and conquer, right?
5. Tab your tiles first.
It can be helpful to first put all the adhesive tabs on your tiles before you hang them up. This will allow you to move faster through the installation and with better consistency. Set the corner first and press the felt tile firmly against the wall. If the tabs are already on, you can instantly move to the next one and not miss a beat.
6. Straighten the edges.
When putting your felt squares up, make sure they’re straight. You can easily do this by running a finger at the top between the tiles to feel the edge. This is especially important for large-scale installations. As you add more and more tiles, even the slightest misalignment or edge that’s off (by even a little) will increase and become much more noticeable—almost like a ripple effect.

7. Fitting the felt tiles together.
For every felt board installation, you want a tight and snug fit between each tile. This allows the chamfered edges of these tiles to work their magic and appear virtually seamless on your wall. Fitting the tiles tightly together (although not overlapping, of course) also improves the sound-dampening quality of your felt board design.
FINAL THOUGHTS – HOW TO DO A LARGE-SCALE INSTALLATION WITH FELT BOARD TILES
Felt tiles are a great way to enhance almost any indoor space. No matter the size or scale of your felt board design, the installation process is surprisingly quick and easy. Simply measure and level your first tile, peel off the adhesive tabs, align and then press firmly for about 30 seconds. Then, simply repeat these steps for each tile as your felt board creation comes to life. It’s really that easy.
And with larger-scale installations, you do want to take a few more precautions. Make sure you map out your wall space, plan the design carefully, and straighten each tile as you go. Working in chunks and columns instead of rows can also be effective for larger projects.
Felt Right is proud to offer a beautifully curated collection of colors, shapes, and textures to give you the freedom to create something truly unique. Our felt tiles allow you to fully customize your creation to craft stunning wall art and practical décor solutions, even serving as pin boards. From hosting to-do lists and pin-up notes, to family photographs and memories, there’s a lot to love about our felt tiles. Isn’t it time to see what they can do for you?
If you want to find out more about our selection of felt board tiles, feel free to contact us or email our team of professionals at support@feltright.com with any questions. Additionally, check out our installation page to learn more about the easy, step-by-step installation process and explore our My Studio tool to create your own design. At Felt Right, we’re excited to help you begin your next project. Together, let’s build a beautiful world.

