 Skip to content


something attractive and functional” - Cathrine S.
- Lay Out Your
Design
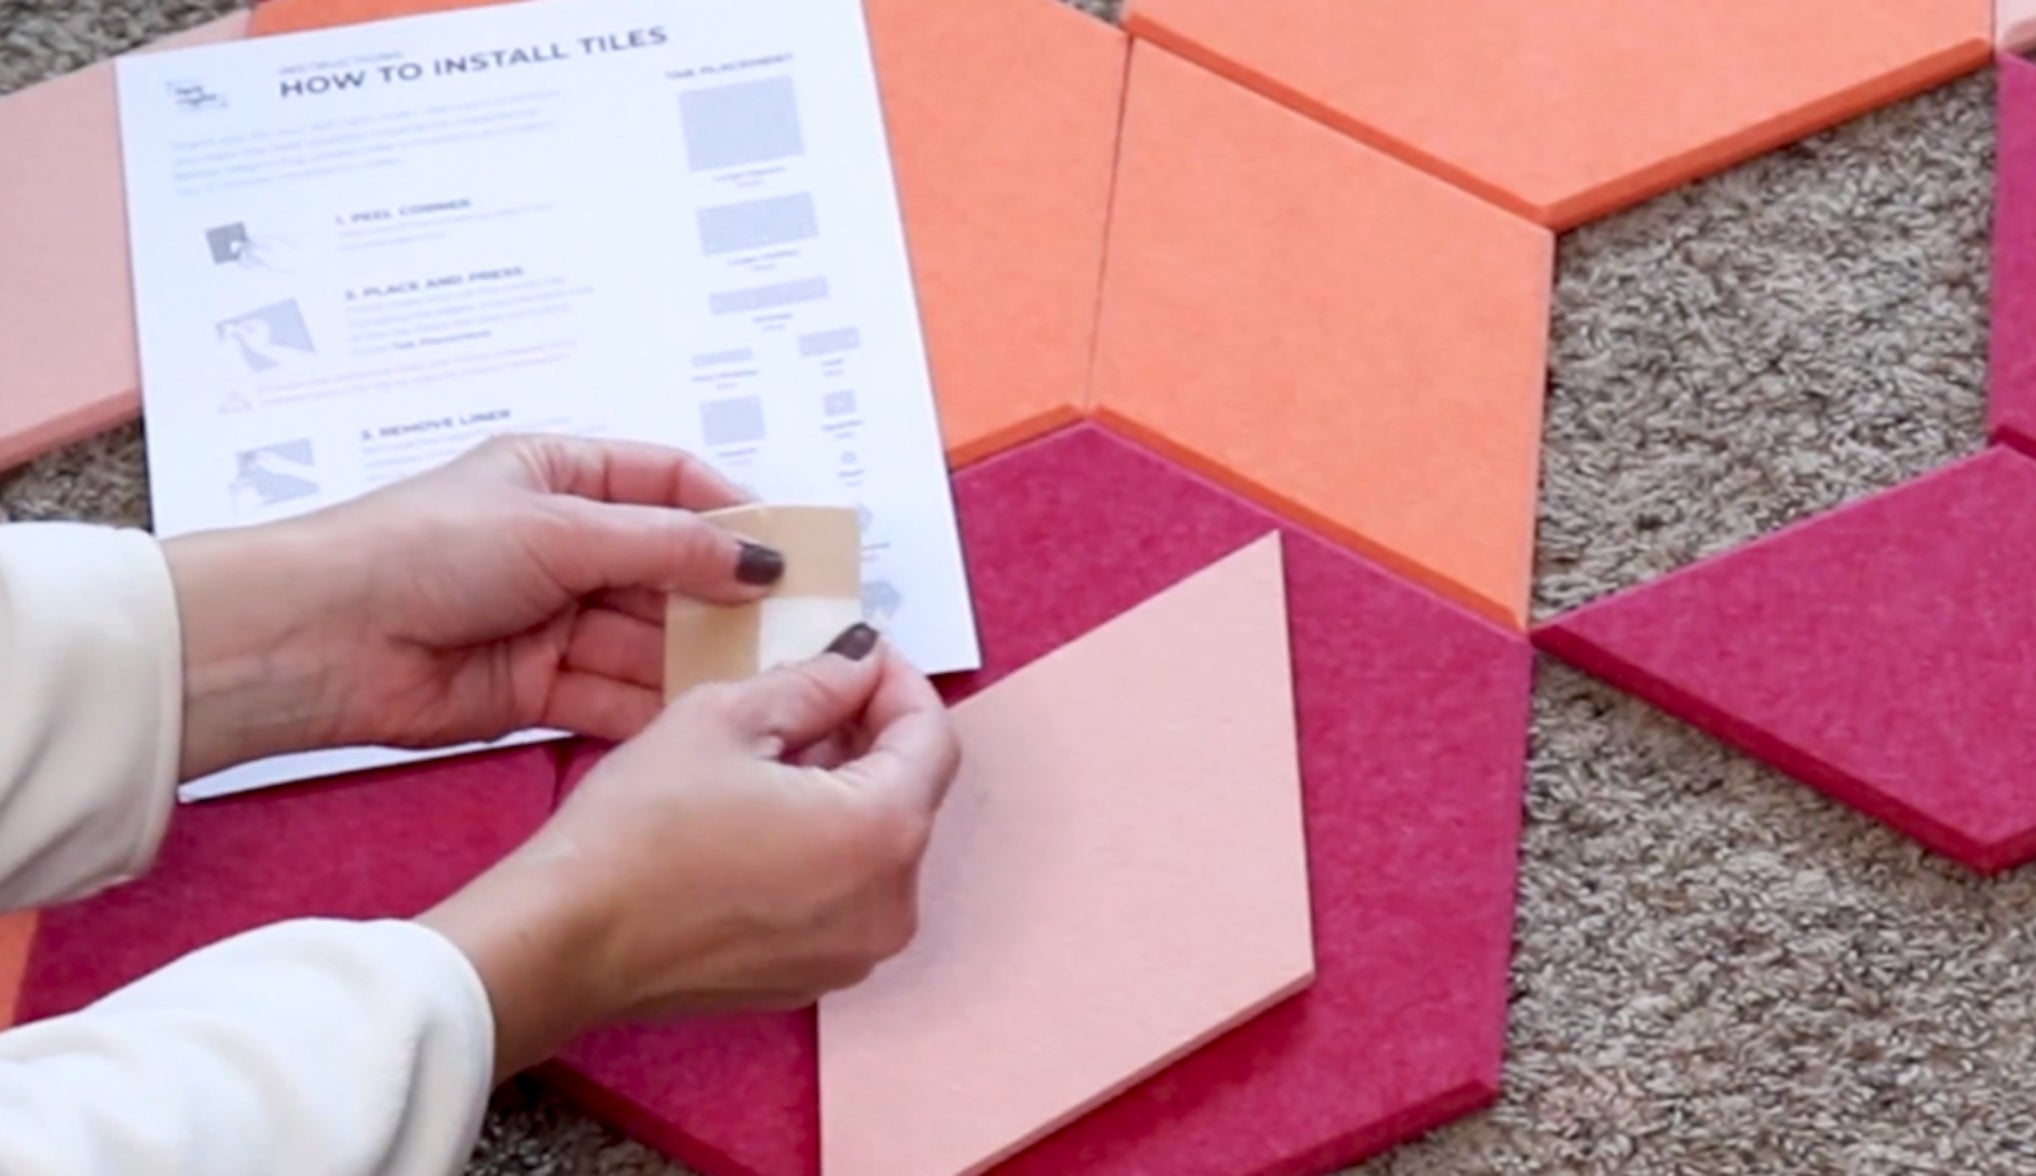
- Apply removable Adhesive Tabs
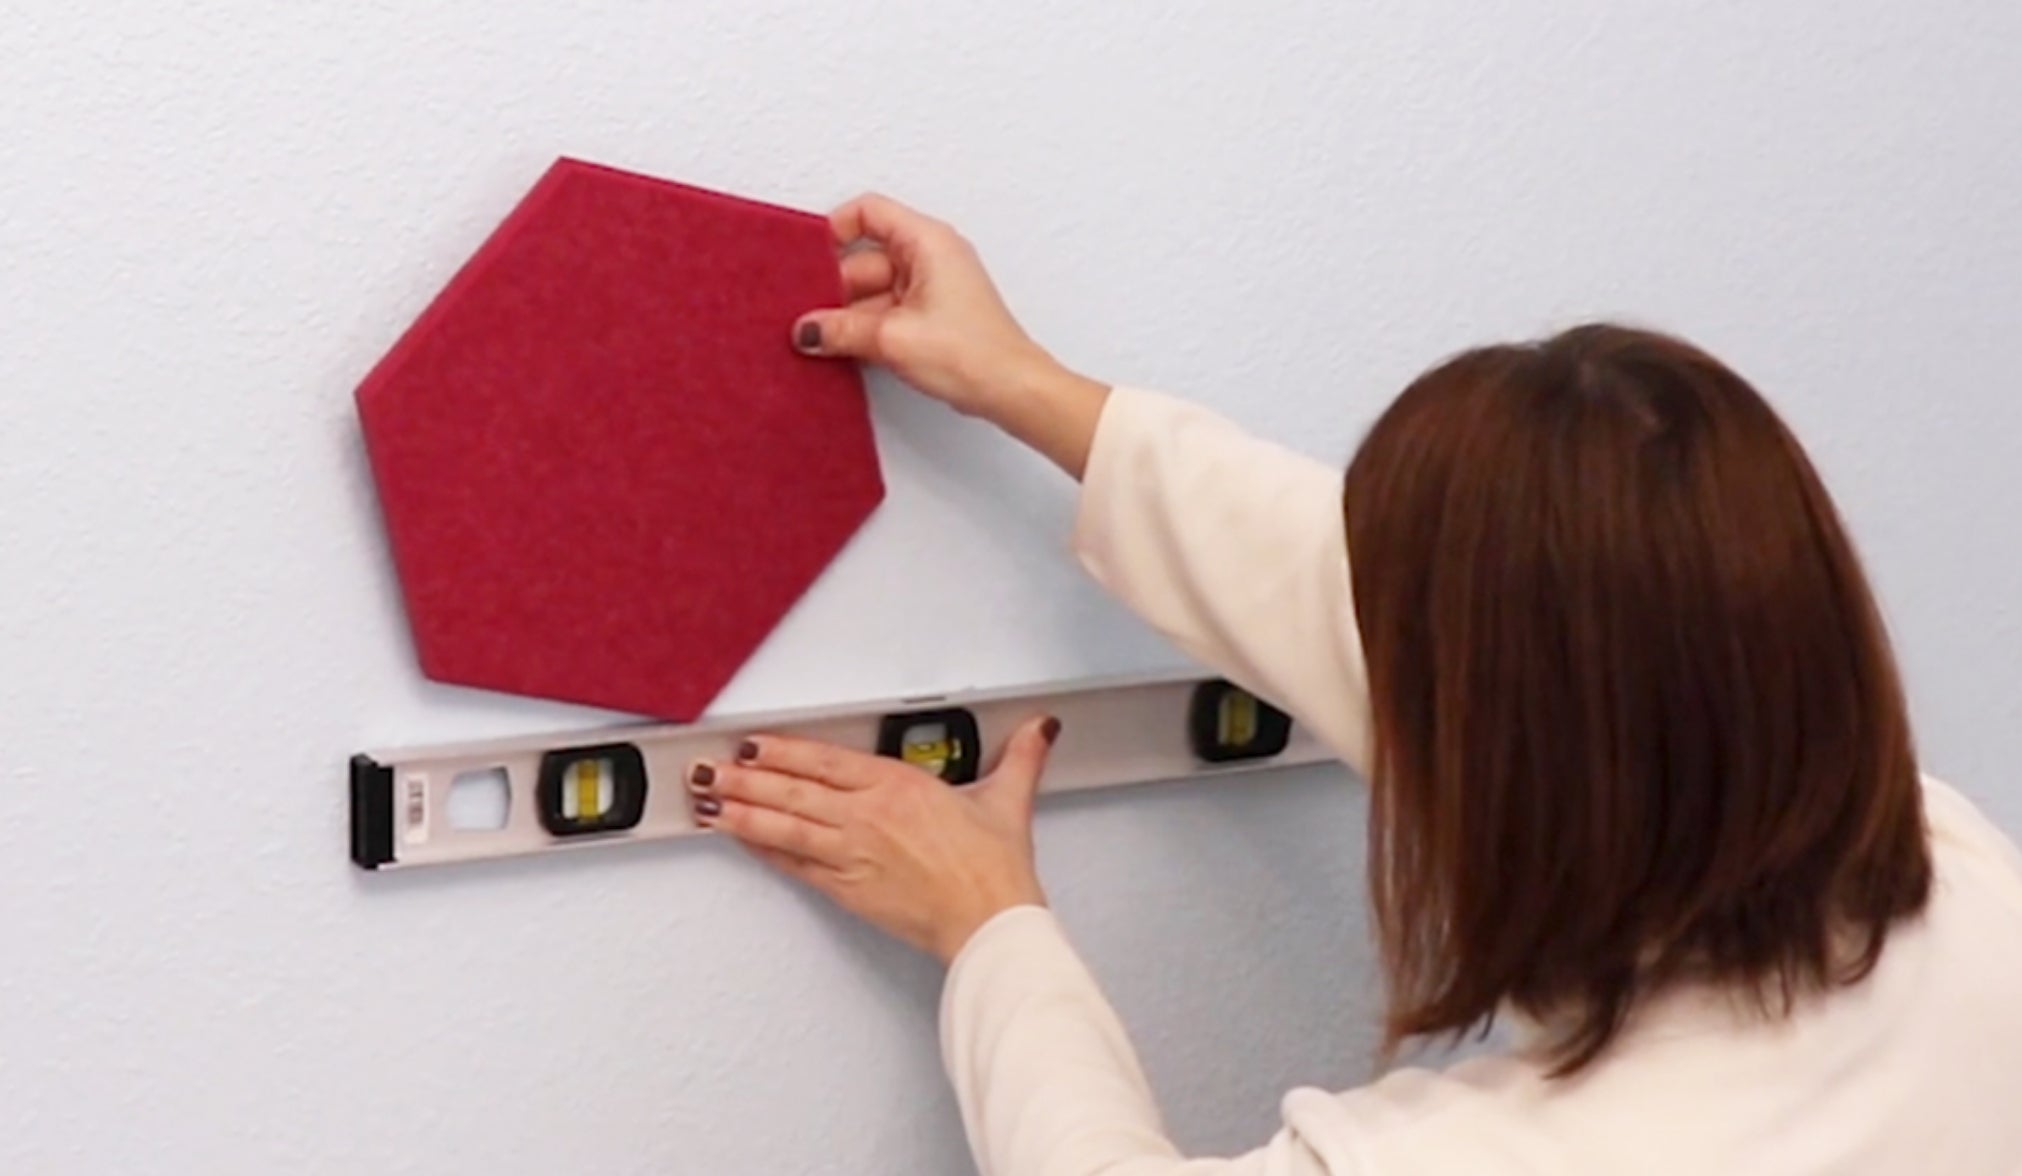
- Install Your First Tile

- Complete Your Design
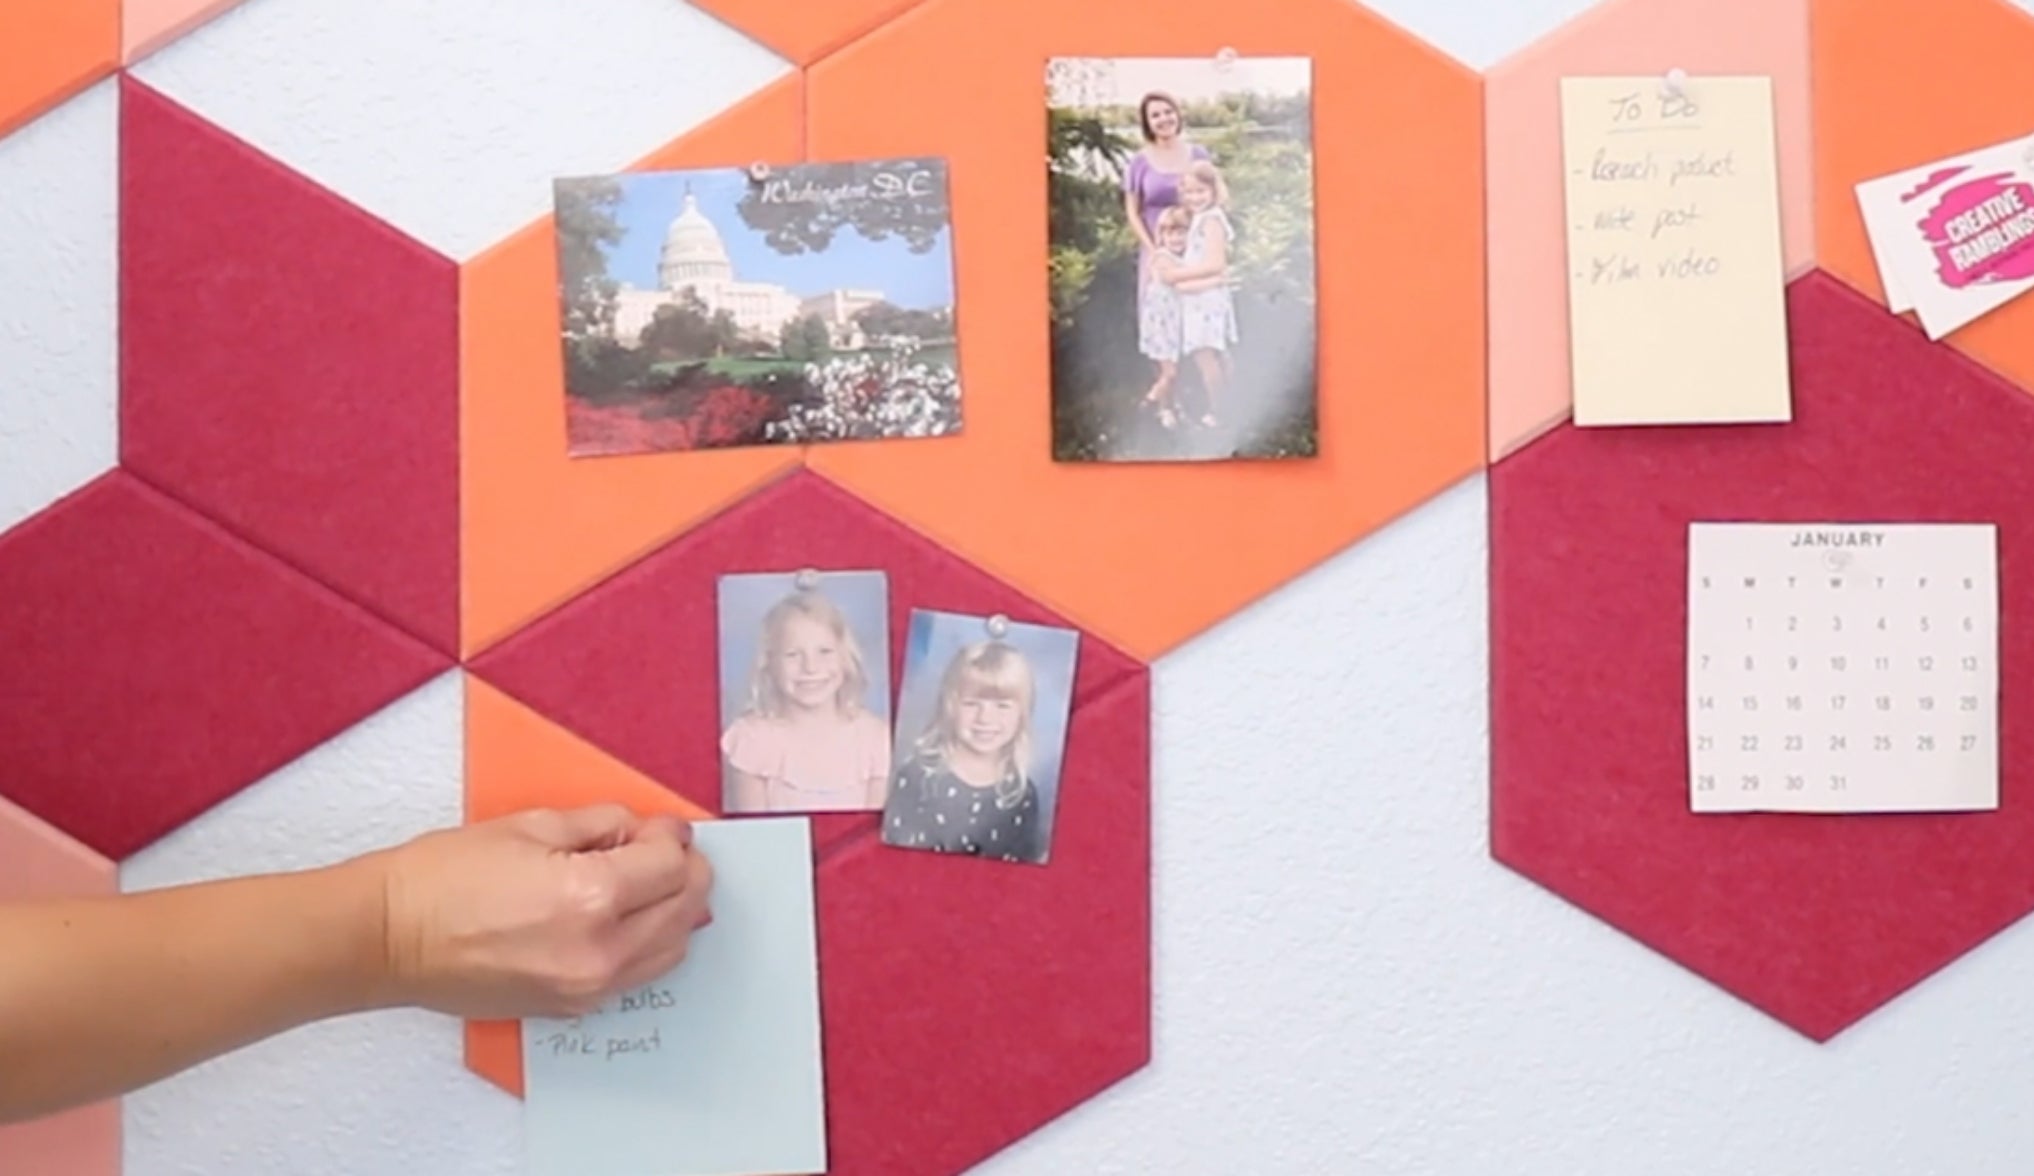
- Enjoy Your New Space!


- removable adhesive tabs
- Easy to install
- Designed to hold tiles firmly in normal environments
- Easily removable from walls
- Provided free of charge with your Felt Right order
- Great for homes, apartments, rentals, and dorms

- Commercial adhesive tabs
- Easy to install
- Provides semi-permanent bond for longer-term tile installation
- Required for overhead installation
- Best for Commercial / High traffic environments
- Removable with additional effort
- Best for concrete, stucco, or highly textured walls
- Option to swap free of charge in Felt Right cart


- Measure and mark the tile.
- Use a sharp craft or utility knife and a metal straight edge for a guide.
- Place the tile on a blade-safe surface and make an initial cut with smooth, firm pressure.
- You will likely need multiple passes to complete the cut.

For smaller, semi-permanent applications, we recommend using Felt Right commercial grade adhesive tabs. Adhesive tabs make for a quick and easy installation process and are included with every order.
For larger, permanent or overhead applications we encourage installers to use a construction adhesive like Liquid Nails, Roman-555 Extreme Tack Wallcovering Adhesive, or VHB tape to adhere tiles to wall or ceiling. Felt Right tiles are precision fabricated to allow for seamless installation and are a favorite with the construction trade.
Every order of Felt Right tiles comes standard with adhesive tabs. At checkout, you are given the option to choose between Paint Safe and Commercial tabs. For more information on the difference between tabs, see here.
Our felt wall panels are easy to clean and maintain. To remove dust, all you need is a vacuum wand or hose. For spot cleaning, all you need is a damp rag or household cleaner to spray the tiles and wipe them down. For high-traffic, commercial applications, you can disinfect Felt Right tiles with multi-purpose cleaning products. For more information, see our cleaning guide.
There are 2 important steps to uninstalling Felt Right tiles without damaging paint:
Step 1: Carefully separate each tile from the adhesive tabs.
Tiles are removed, leaving the tabs on the wall surface. This is done by inserting fingers between the tile and the wall, away from the tab location, and gradually applying pressure until the tile separates from the tabs. Avoid pulling the tile directly away from the wall in an abrupt or forceful manner as the tile needs time to release from the tabs.
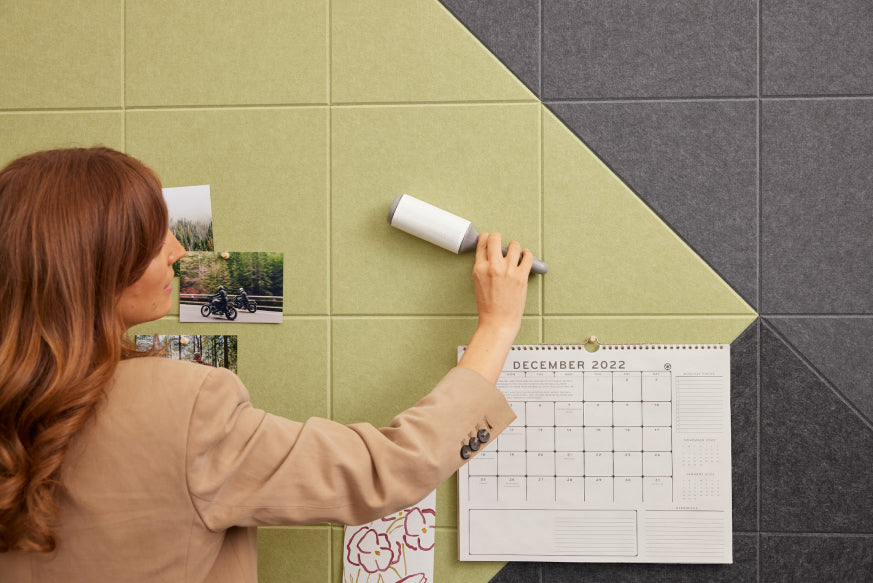
Step 2: Roll the tabs off the wall.
Once the tile has been removed from the wall, leaving the tabs, then remove each tab from the wall. This is done by starting at a corner of the tab, applying pressure, and rolling the tab off of the wall with your finger or thumb. Avoid pulling the tab directly away from the wall.
If you have difficulty getting the tab to begin rolling, you can use a block pencil eraser to start the process.
Yes, you can use Felt Right tiles for ceiling applications. However, we do recommend using Felt Right Commercial-Grade adhesive tabs to create a stronger, semi-permanent bond.
Felt Right tiles are not suitable for flooring applications.
Felt Right tiles are easily installed with a tape measure, a level and a pencil. Simply orient your first few tiles and then build out your design from there. Most designs can be installed in less than an hour!